
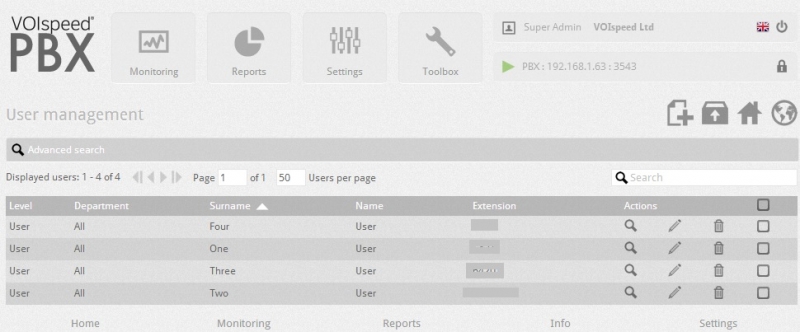
To enter the User Management, go to the Settings --> Users node.
The User management tab allows you to view all the users on the server. You can see the company name; department; surname; name; and extension for each user. You can search for users by entering the name (first or last name); email address or phone number of the user you are searching for in the contacts search box. You can also search users by entering the name of the Company they belong to.
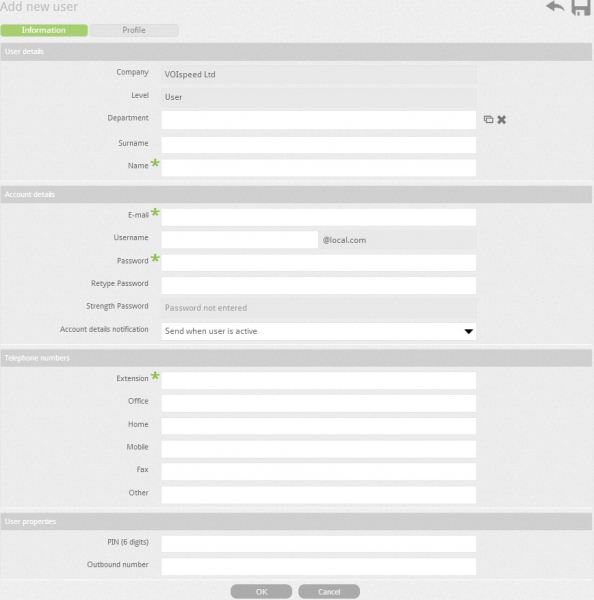
To create a new user account, click on Add a new user icon ![]() .
.
See below User configuration Settings:
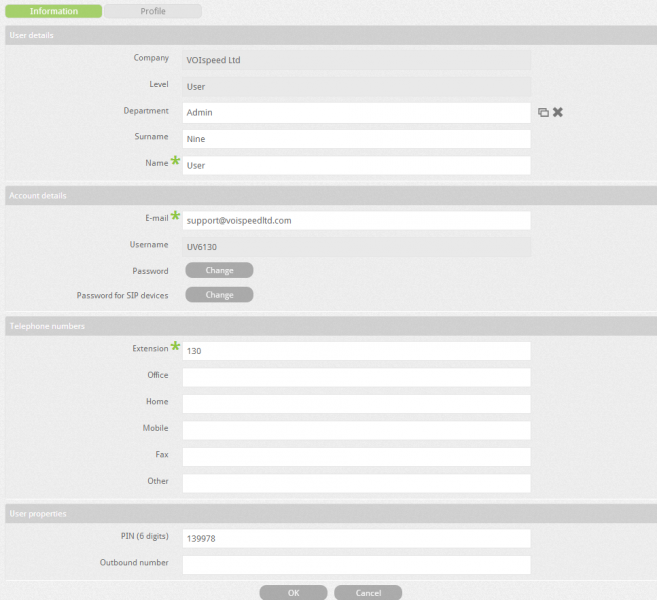
| Field | Description |
| Company | Enter the company name of the user in this field | |
| Department | Select the department of the user (a new department can be created if there is no department by clicking on icon add new department ).All the users in the same department will be displayed in GUI under that departments name. The departments name will also be displayed in GUI under calling number. If no department is specified for the user then the user will be assigned the standard “NO Department” status by the PBX. | |
| Surname | Enter the surname of the new user. | |
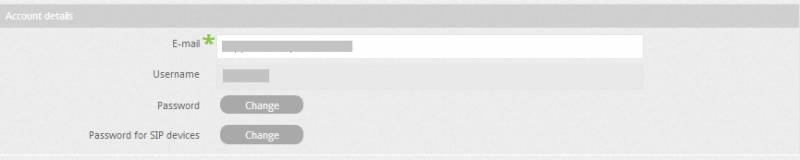
| Email* | Enter the email of the new user. You must enter an email address as all the notifications (failure or success) will be sent to this email address of the user. | |
| Username | Assign a username to new user. | |
| Password | Enter the password of the new user. | |
| Retype password | Enter the password again for verification. | |
| Extension* | Enter the extension number - it is advisable to create a minimum 2 digit extension number. | |
| PIN(6digits) | Enter the 6 digit PIN number which will be used to access the PBX services.If you leave the PIN field blank then the PBX will generate a unique 6 digit number. | |
| Outbound number | Allows you to specify the number to be used as Caller ID for outgoing calls, depending on gateway configuration. |
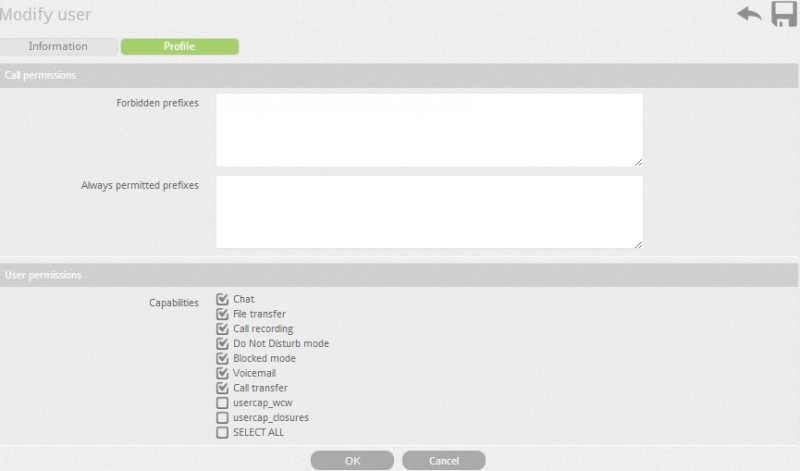
Profile Page Settings:
| Forbidden Prefixes | You can assign prefixes here for the user which will prevent the user from dialling numbers starting with certain prefixes, e.g. you can assign 0044 as a forbidden prefix so that when, for example, the user tries to dial the number starting with prefix 0044 the PBX will reject the request, irrespective of the user level. |
| Always permitted prefixes | You can also assign prefixes for the user which will always be allowed. | |
| User permissions | You can allow the user access to the functions below by clicking on the following:
|
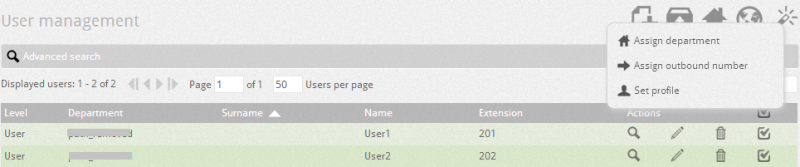
Assign profile to multiple users:
You can delete, search and modify the users by clicking on the buttons delete ![]() ,search
,search ![]() , and moodify
, and moodify ![]() .
.
By selecting more than one user from the list of users, you can assign a profile or other properties to multiple users. As soon as you select users or check the box, a new icon of “magic wand” appears at the top right hand corner. You can perform the following actions by right clicking on the magic wand icon:
|