
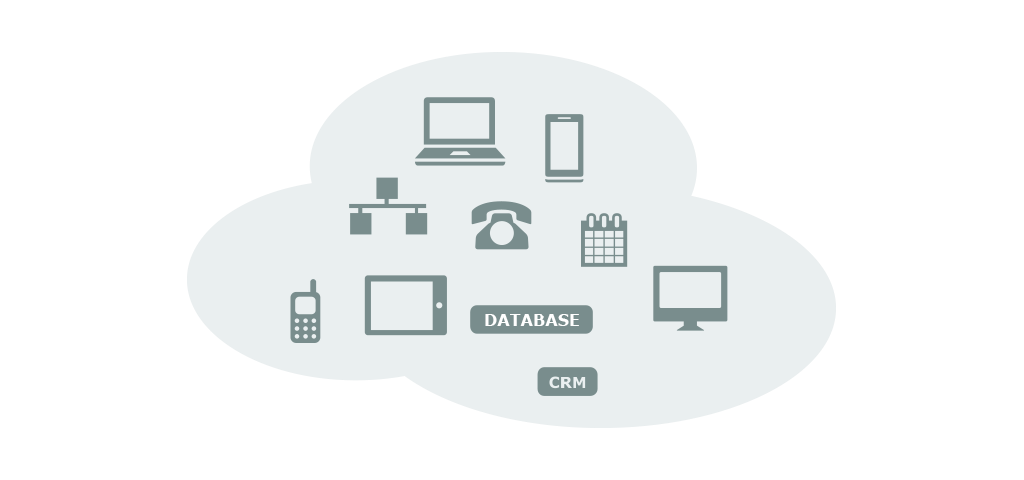

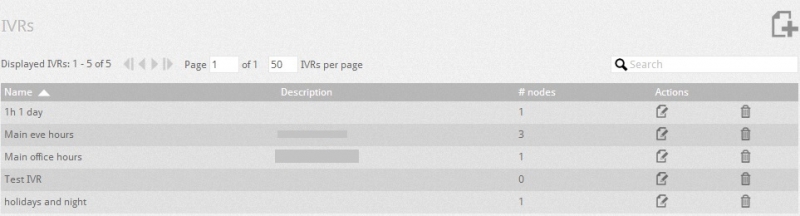
To configure the IVR, go to Settings --> IVRs node. The IVR tab allows you to access all the IVRs on the server. You can see the company name, name of the IVR, description of the IVR, and the IVR nodes. You can search the IVR by company name; edit and delete the IVR. The IVR (Interactive Voice Responder) is the tool traditionally used to respond to incoming calls with pre-recorded messages, allowing callers to route the call to an extension or a group based on the choice entered with the telephone keypad. You need to assign your incoming numbers to the IVR so that the auto responder can handle incoming calls. |
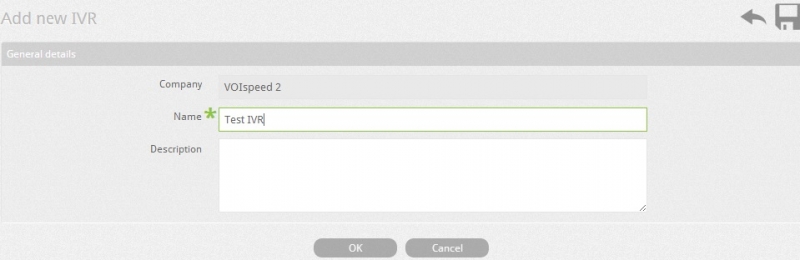
To add a new IVR, click on the new IVR icon ![]() .
.
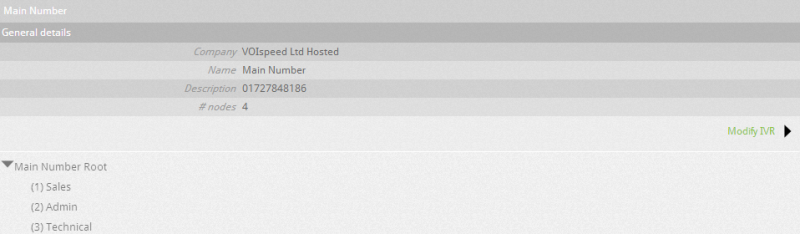
After creating a new IVR (you will find it in the IVR list) you will need to add the root node its sub-nodes. Only one root node can be created for each IVR. To create the root node, click on show the details button ![]() go to the IVR details page, and then click on new root node button. You can also change the name and description of the IVR by clicking on the pencil icon.
go to the IVR details page, and then click on new root node button. You can also change the name and description of the IVR by clicking on the pencil icon.
See parameters of root node below:
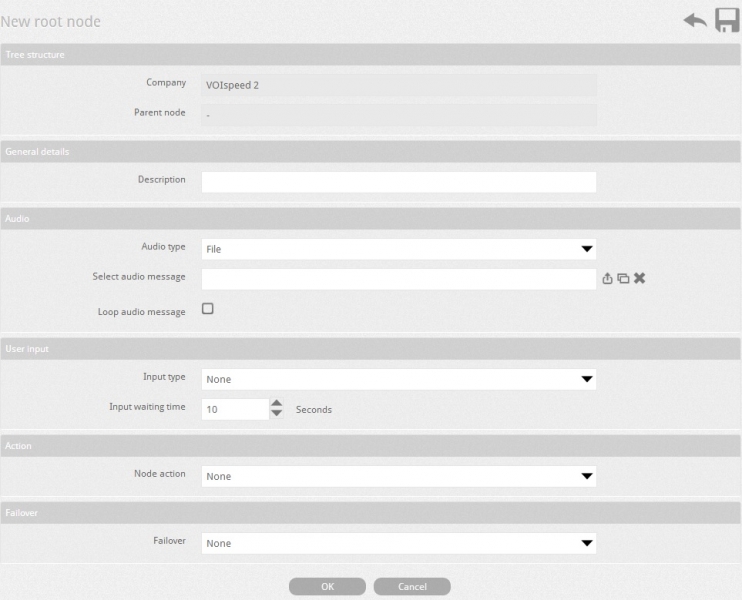
| Field | Description | |||||||||||||
| Company | Displays the company name which owns the IVR. | |||||||||||||
| Parent node | This field will only be active if the current node is a sub-node. | |||||||||||||
| Description | Type the description for the root node. | |||||||||||||
| Audio type | Upload the audio wave file in the select audio message field from the local or remote computer or you can select a file from the server. If you select none then no message will be played. | |||||||||||||
| Loop Message | If the loop audio message is enabled then the audio message will be played constantly. | |||||||||||||
| Input Type | This allows you to select the input type from caller and based on this it will forward the incoming call. There are three possibilities for input types:
| |||||||||||||
| Input Waiting Time | Enter the max time the system should allow the user to enter a key. When this time expires, if no key has been entered, the IVR will execute the action selected on failure. | |||||||||||||
| Failover | You can assign where to transfer the call (e.g. User, Group, Other responder) following the failure of user input. | |||||||||||||
| Action node | You can select the action that will be performed according to user input. There are seven possibilities for node action:
|
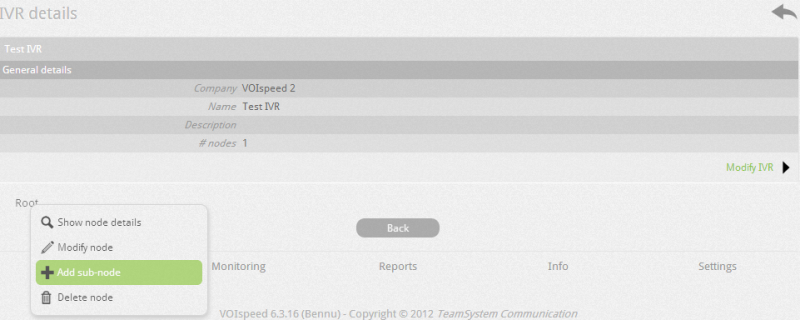
Add Sub-nodes to the root node:
When the root node provides choices for the user to go to sub nodes by entering input keys (e.g. Press 1 for sales office, 2 for the technical office ...) then you need to add sub nodes. You can add sub-nodes by clicking on the name of the root node. Then a context menu will appear that will allow you to add a sub-node to the selected node (you can also delete or edit the selected node).
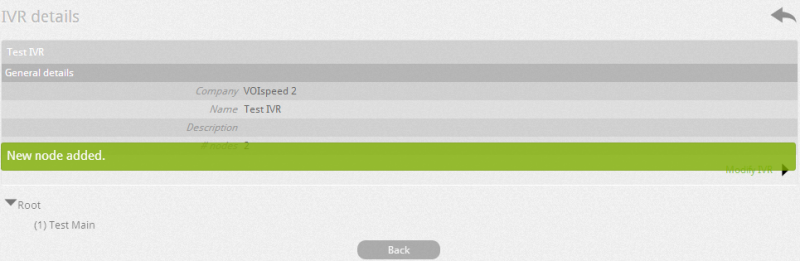
The sub-nodes have the same properties as the root node (see above). You can access the sub- node only by the key selection and it can not be directly accessed from outside. However, sub-node allows the user to return to the previous node (the node from which the call came) of the sub-node using Back key.
Selection Key: Assign the number here and when same number is typed into the parent node it allows the user to enter the sub-node.
Back Key: Assign here the number which will be used to return to the previous node. For example, if the user has entered the number by mistake to go to sub-node, then user can enter the back key number to return to the previous node. It is essential that audio message communicates the back key number clearly.