
In this section, the user has the ability to create and configure after hours phone system settings.
After hours represents a particular state of the PBX in which all incoming calls are handled in such a way that they override the common routing rules, allowing the PBX to respond with a message (selected by the user) or give callers the option of leaving a voicemail. These after-hours settings are particularly useful in holiday periods.
The difference between settings for the routing table and after hours is that after hours settings are managed by PBX user, and don’t require PBX administrator rights, giving users greater flexibility and freedom to manage incoming numbers.
See below the properties of after-hours settings:
| Company phone number: | You can select the phone number from the list of company phone numbers which are already configured on the PBX. You must select at least one phone number to configure after hours. If you have multiple numbers configured to different departments and do not want to configure all the numbers for after hours then you can leave specific departments open by not assigning numbers. |
| Audio Message: | You can upload the message on the PBX or record the message directly from your connected device. |
| Planning: | Allows you to specify the date range during which the after-hours setting will be activated. Each after hours setting creates a different routing rule which is also displayed under the routing rule section of the toolbox. |
| Enable: | You can enable or disable the after-hours setting by clicking on it. |
The list of after- hours settings is displayed at the after hours section of the user area.

You can see the details  these settings by clicking on the details icon. You can also disable the after-hours feature by clicking on the green LED
  (red LED indicates that after-hour rule is disabled).
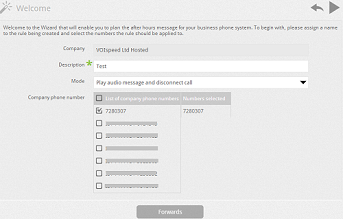
To create a new after-hours rule click on Enter-new after hour time icon. It will start a Wizard that will guide the user to create an after-hours rule step by The first step of the wizard is to configure the number involved for the after-hours settings. The window will display the list of company numbers of the PBX from which you can select the number used for the after-hours service.
After selecting the number click the Next button to continue.
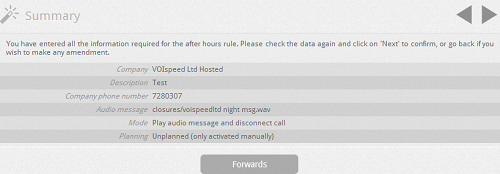
| Select the audio message: | Allows you to select the audio message which will be played when the call is handled by the after-hours rule. |
| Mode: | Allows you to select the mode for the voicemail. By default it is set to “play audio message and disconnect the call” which only plays the voice message and does not give the option for the caller to leave a message. Instead, “play audio message and record voicemail” allows the user to leave a message which is delivered to the user as an email attachment. |
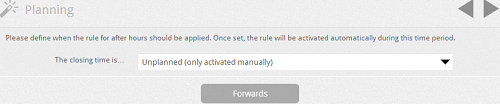
| Planning: | At this point in the wizard, you must specify the period for the after-hours setting. Outside of this period the PBX will use the normal routing rule, for incoming calls. The PBX user can select the closing time by choosing the options from the planning field If you select the option ‘unplanned’ then you have to enable or disable the after-hours manually (within the list under the after-hours section). Alternatively, you can set the date range, which will allow the PBX to use the after-hours for the specified date range. |

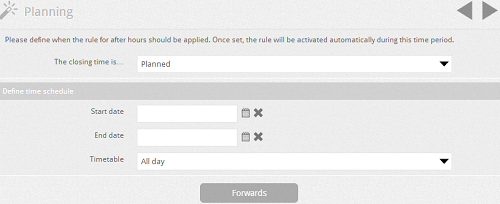
If you select the planned option for the planning then you need to specify the date range in the start and end date fields. After this you can activate the after-hours for either the whole day or for specified times by selecting the select time interval from the drop down list on the timetable.
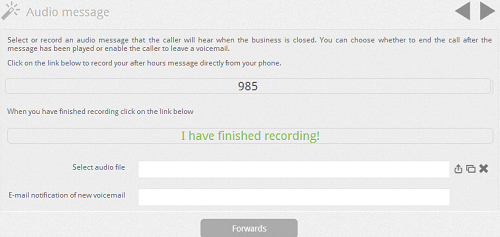
How to record the Audio Message:
If you have an audio message prepared then you can upload it for after hours when you create after hours rules. Alternatively, it can be uploaded at any time by the administrator of the PBX. However if you don’t have the audio message ready then you can record one from the audio messages section of user area:

Record by Phone: If the user who is creating after hours has the audio device connected and configured on the PBX then PBX detects the connected device of the user and allows the user to have number of services such as record message etc. In the audio message section, a 3-4 digit numbers is displayed and the user can record an audio message by dialling this number from their phone. Once you have finished recording the message then click on “I have completed recording” to finish the recording. A new audio file will be created by the PBX which will be displayed under the select audio files section.